Macgregor 26S centerboard control to the cockpit
Note: there are some links to other ways to do this (and where some of the ideas here came from) at the end of this page
This boat is water ballast and has a light weight swing centerboard that fully retracts into the hull. Since the centerboard is not part of the ballast, it does not affect righting moment so the boat can be safely sailed with the CB in any position.. The stock boat has a centerboard pull up that is located inside the cabin. The stock setup uses two blocks total and has a 1:1 leverage.
For this modification I preserved using only two blocks for the line routing but added a third block to get 2:1 leverage as I have an extra just under 10 pounds of weight in the centerboard mostly to help gravity get the centerboard down. The goal here is allow control of the centerboard from the cockpit. Since the CB doesn't affect righting moment, you can safely sail the boat with the CB all the way retracted for down wind sailing.
To be perfect, the centerboard would need second line to pull it down but I'm not going to attempt this. With it the way it is, the CB is easy to pull up or down when the boat is not moving. You always want to unload the CB for moving it and its fairly easy to raise the center board if unloaded and the boat is going less than a "few knots". However, to get the CB to go back down, the boat must be going only a fraction of a knot and also have no load (i.e. lift) on the CB.
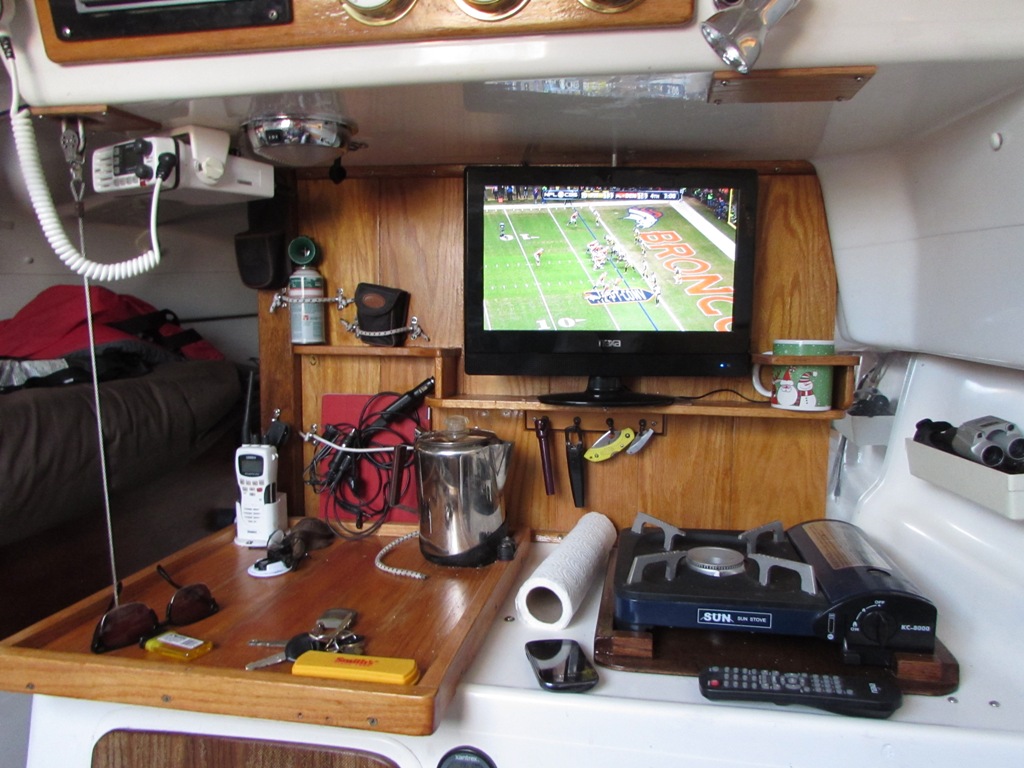
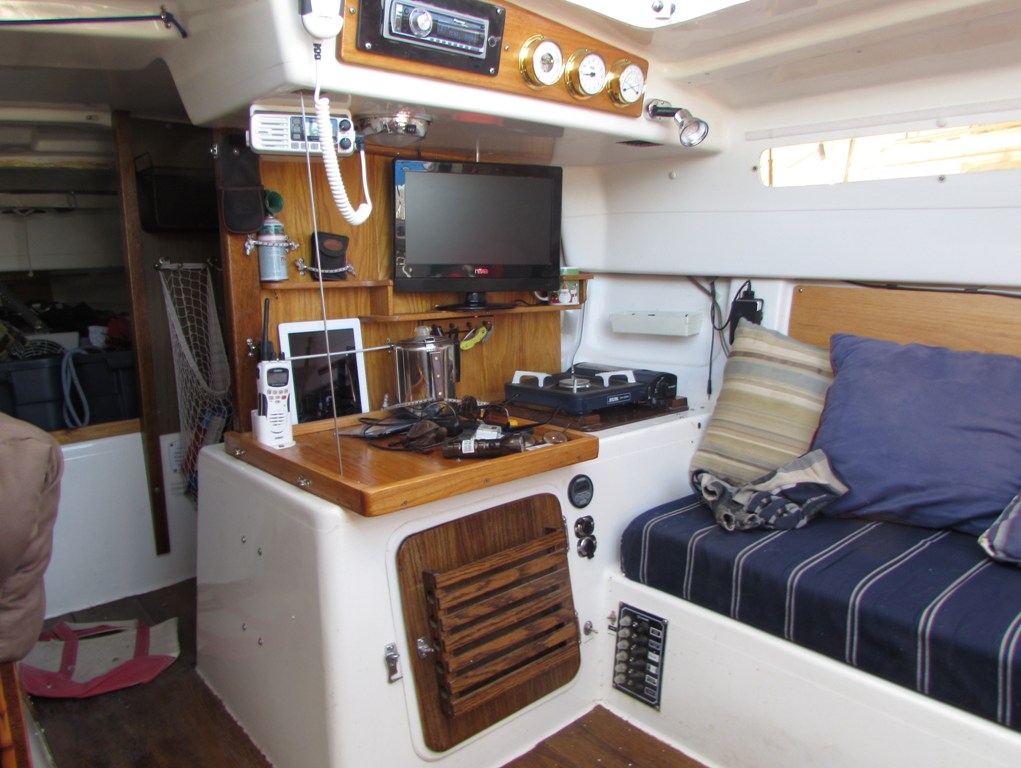
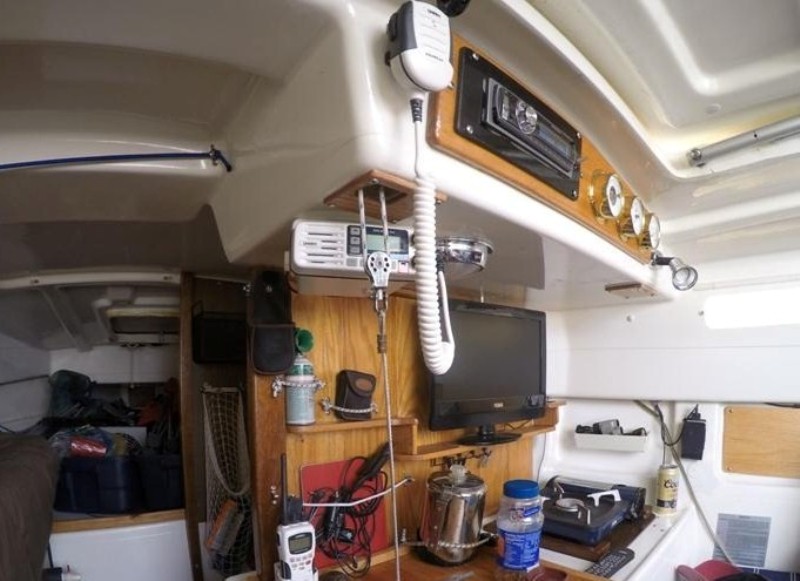
Picture below. Final setup in the cabin showing the CB about 90% of the way up. Note the CB cable goes straight up to a lifting block.
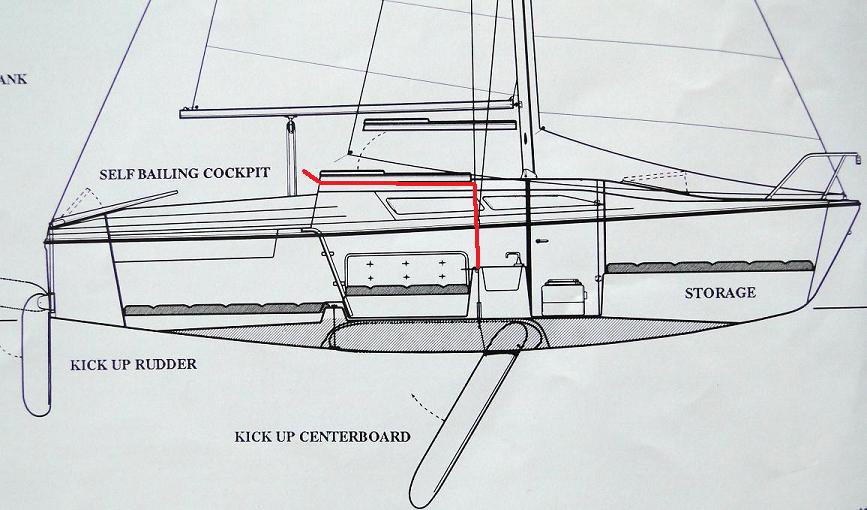
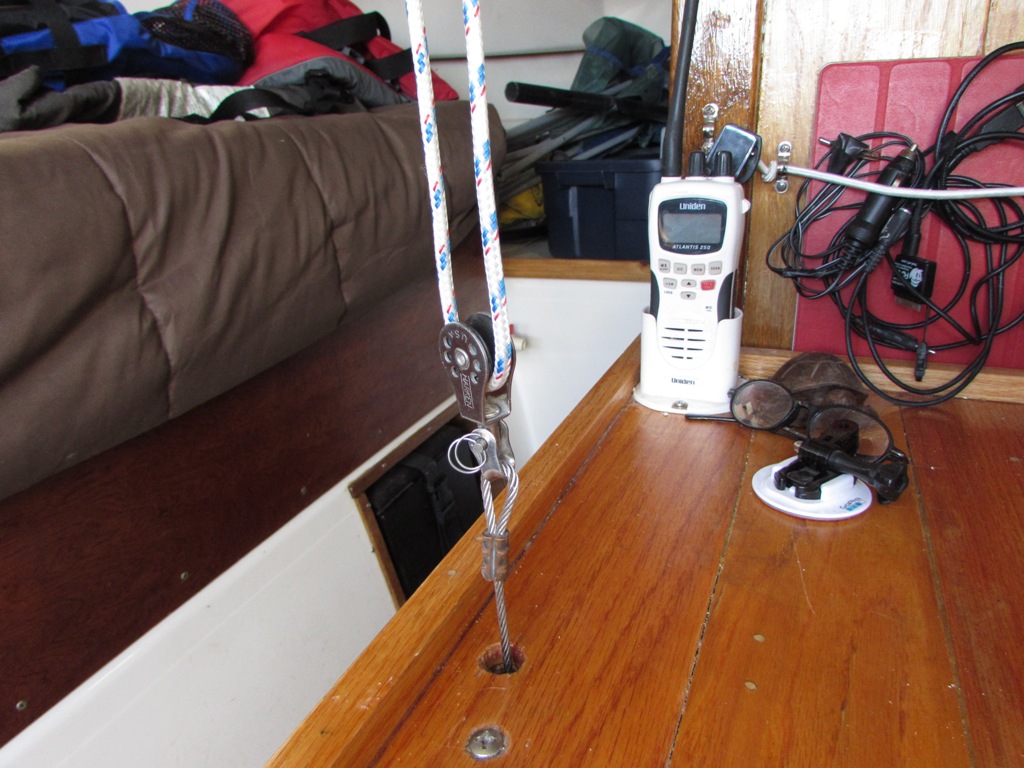
Picture below. General new routing of the CB lifting line. The 26S has a channel between the outer hull and the inner liner that is used for routing the line to the outside (an idea from Bob Hussey who as far as I know, originally moved the CB line to the cockpit).
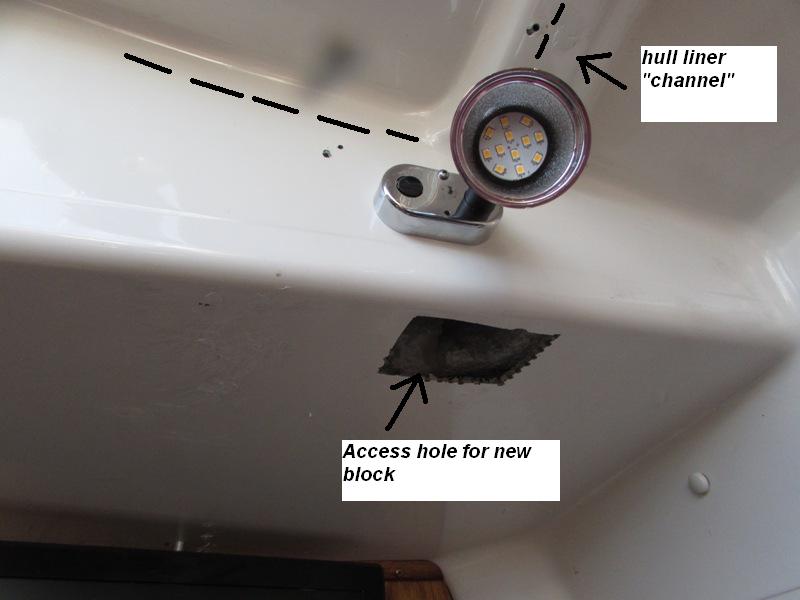
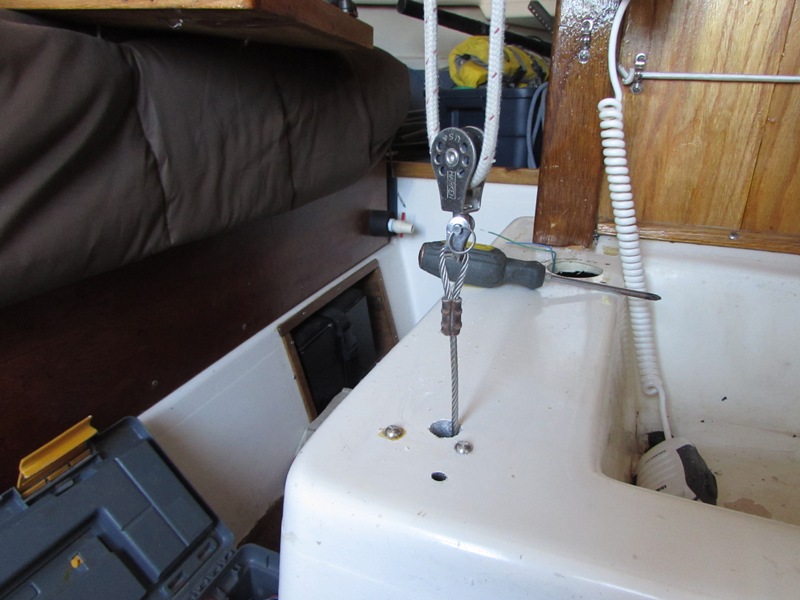
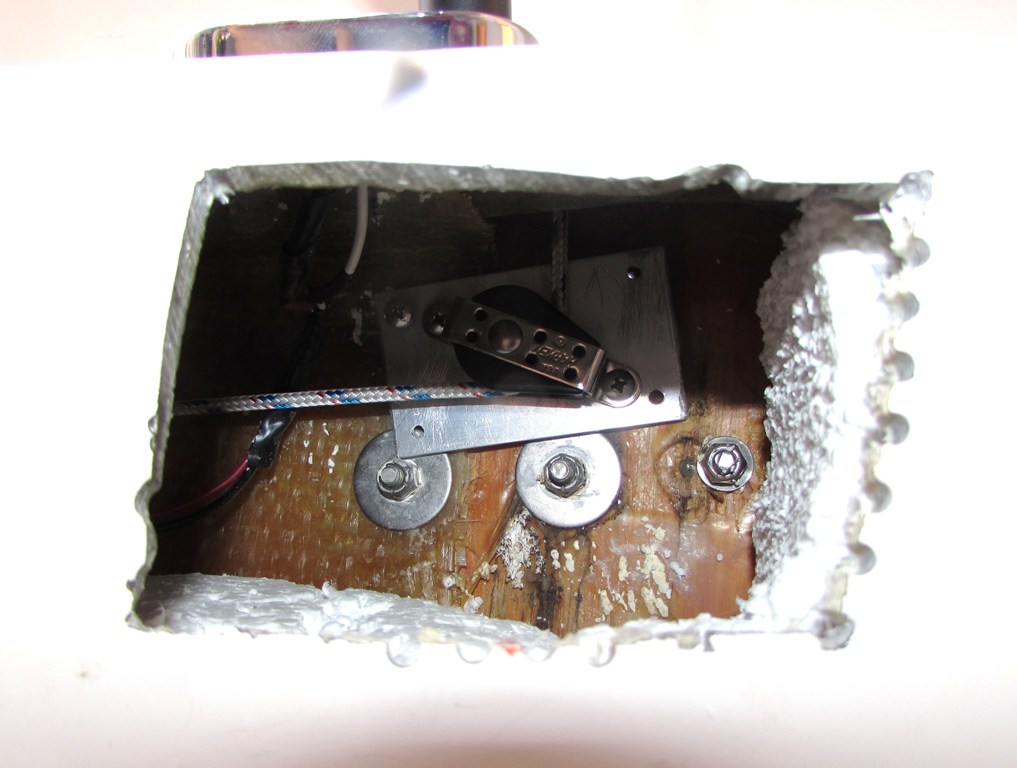
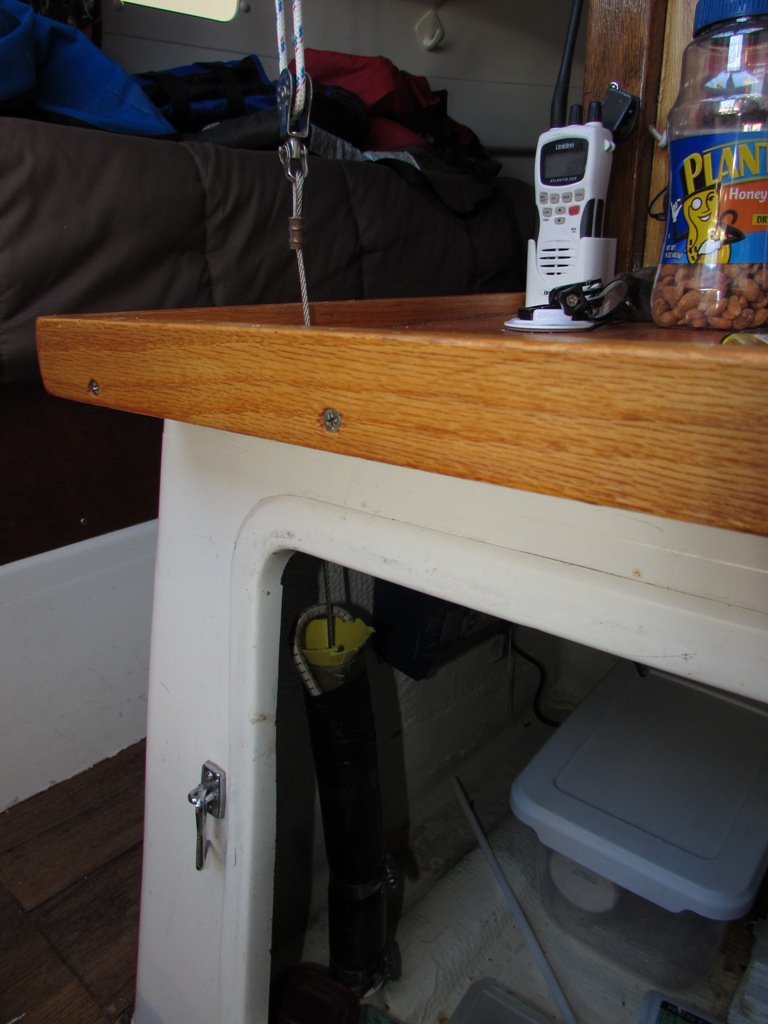
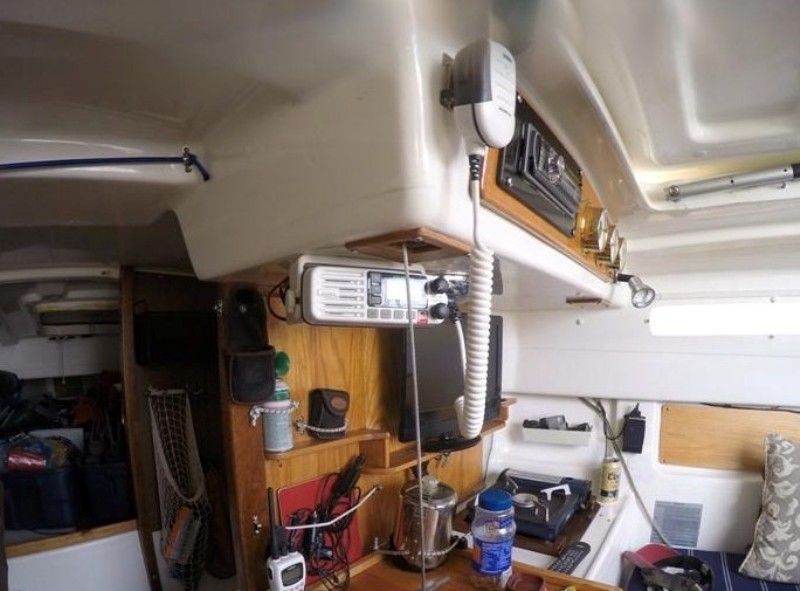
Below. This is with the CB all the way down. The CB cable now comes straight up (through a new hole near the sink) and attaches to the block that provides the 2:1 leverage.
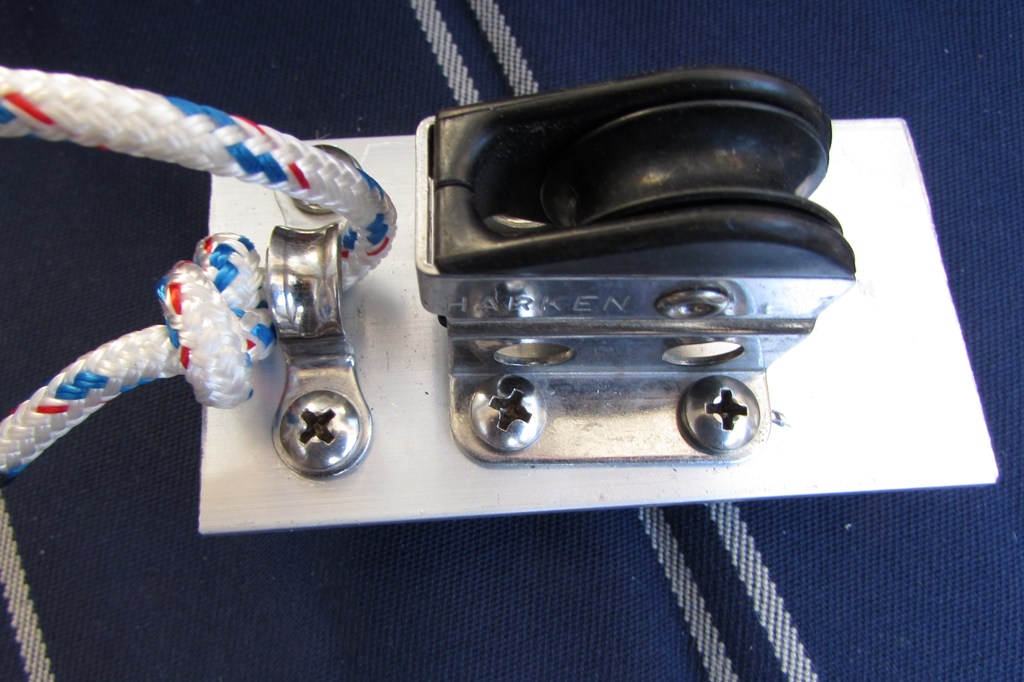
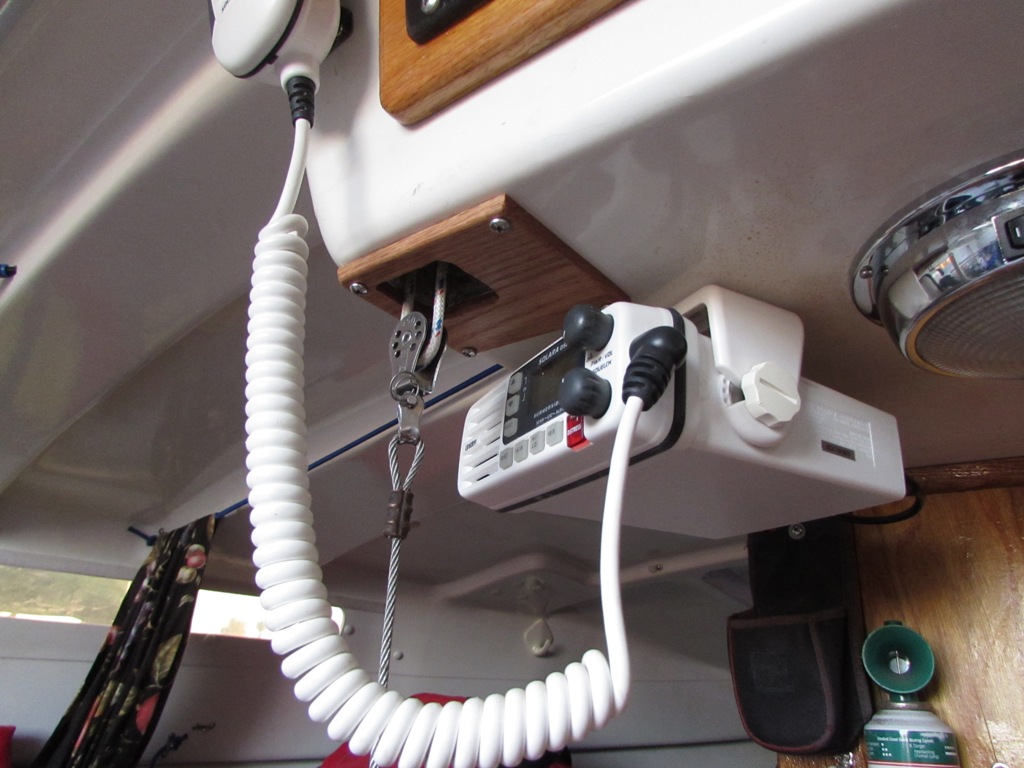
Below. This is the lifting block setup The block and the eye strap were placed on the AL plate and the holes drilled before this was installed in the boat. This made the alignment for installing this a lot easier (but still somewhat of a pain).
Below. Lifting block and eyestrap installed in the deck inside ceiling. The deck is maybe 0.6 inch thick here and its easy to accidently drill the screw holes all the way through (which I did). This doesn't need to handle a huge force but I still wanted lots of screws to hold this up (six total). I may replace some of those screws with #10 "bolts" and nylon nuts with washer backing. The picture below shows the CB is the full up position
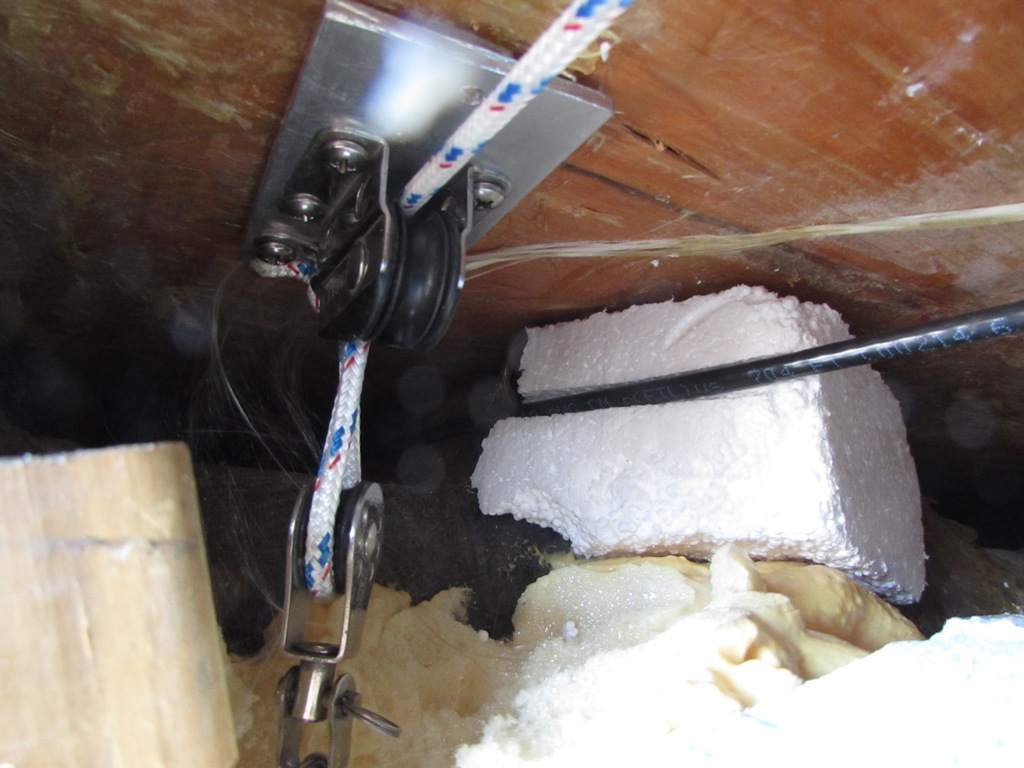
Below. This is the block that sends the line through the channel between the outer hull and inner liner.
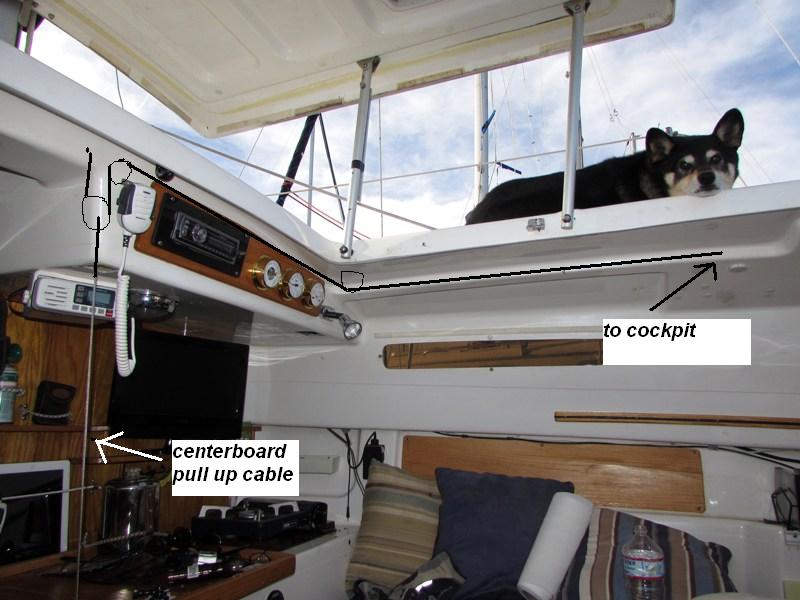
Below. CB in the full up position. The position of the CB is easy to see through the companionway while sailing.
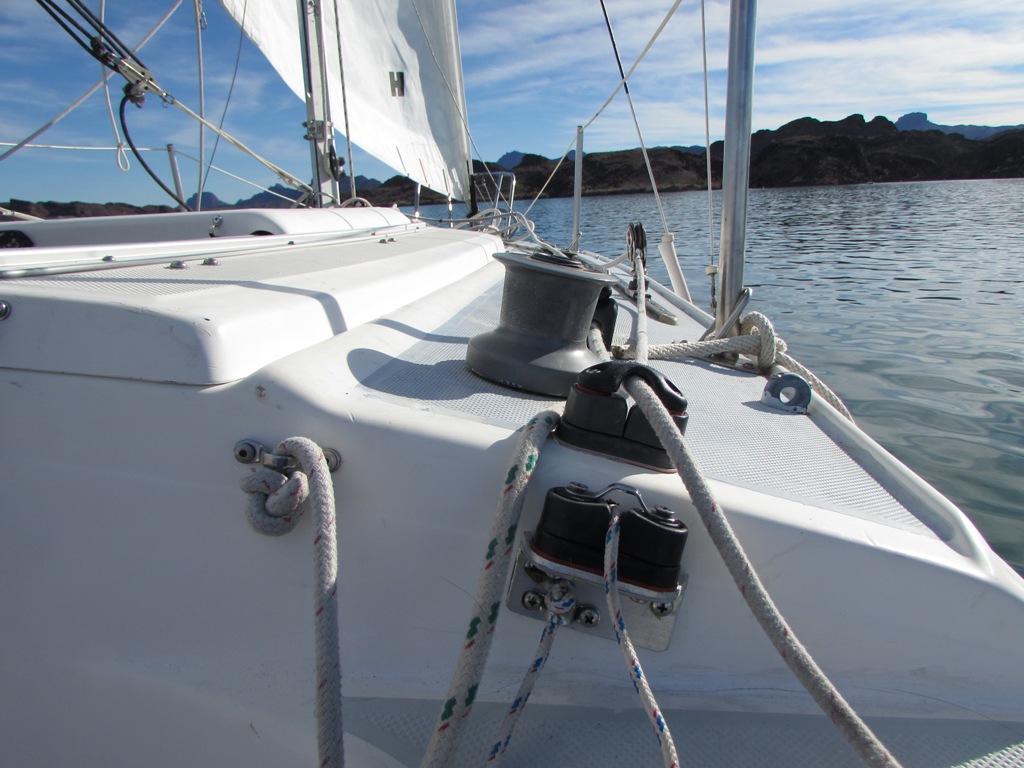
Below. This is where the channel between the liner and the full naturally places the exit for the CB control. Its just under the jib cleat so not perfect but its also overall not a bad spot for access. I wanted a nice easy to use cleat here since I plan to use this while sailing as well as for beaching the boat.
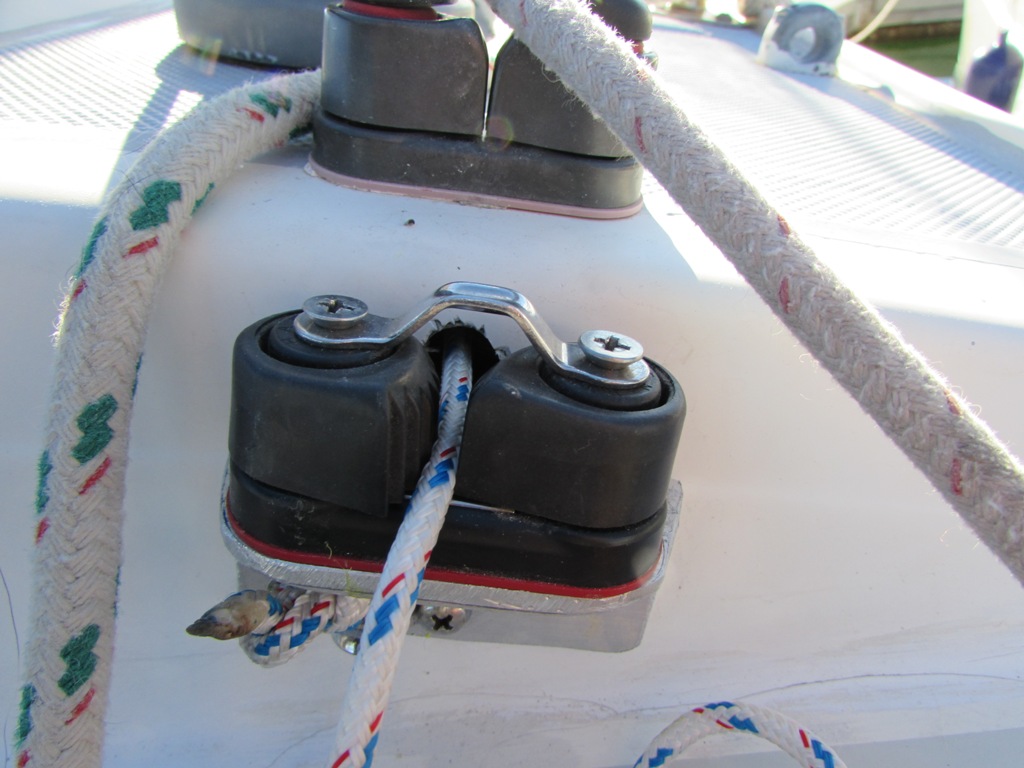
Below. All the edges on the new block bracket are rounded and as small as possible to keep the jib sheet line from getting caught on the new cleat.
Control to centerboard position
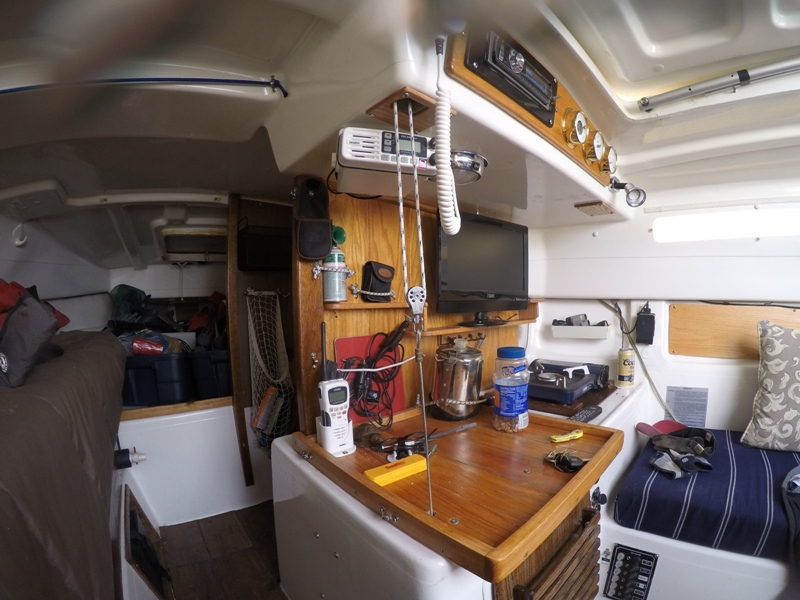
Since I can see the position of the centerboard by looking at the 2:1 block, I wanted to be able to gauge about where the centerboard is vs. where the block is. The next pictures show this relationship.
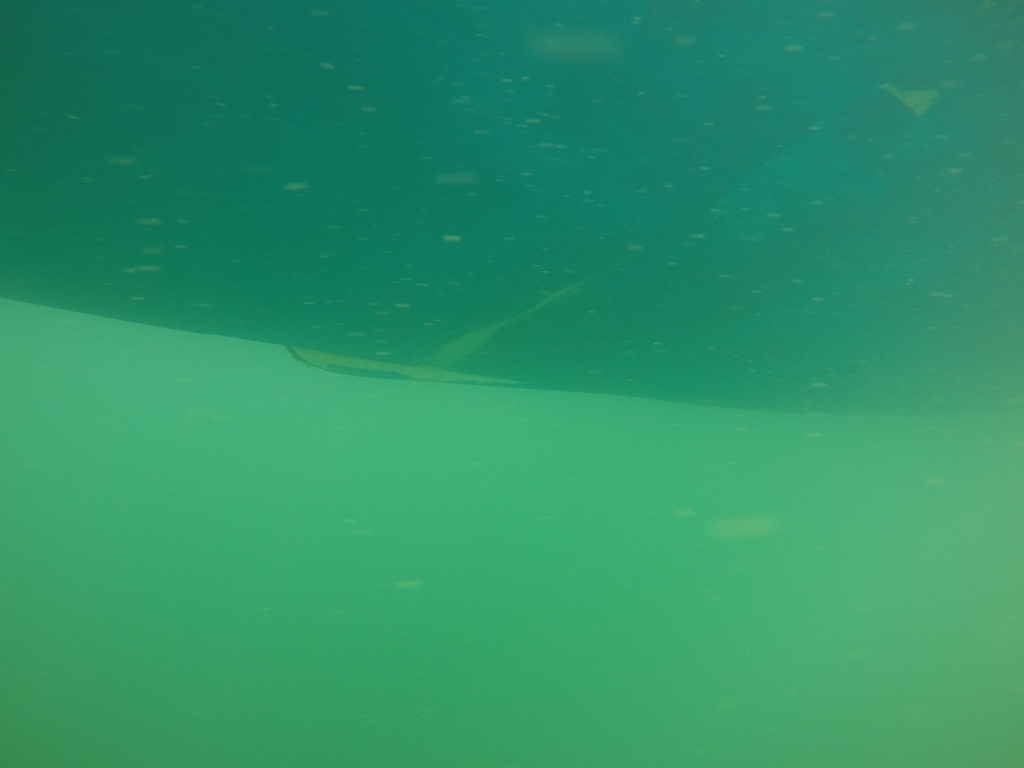
Set 1 below. It is easy to get the CB to go UP but not so easy to get it back down. When the CB has been all the way up for a down wind run and you just have turned up wind and release the CB control, the CB will easily go part way down but to get past this point requires the almost slowing the boat to a stop or a couple tacks. This set shows the CB
Picture below is for the control position in the picture above

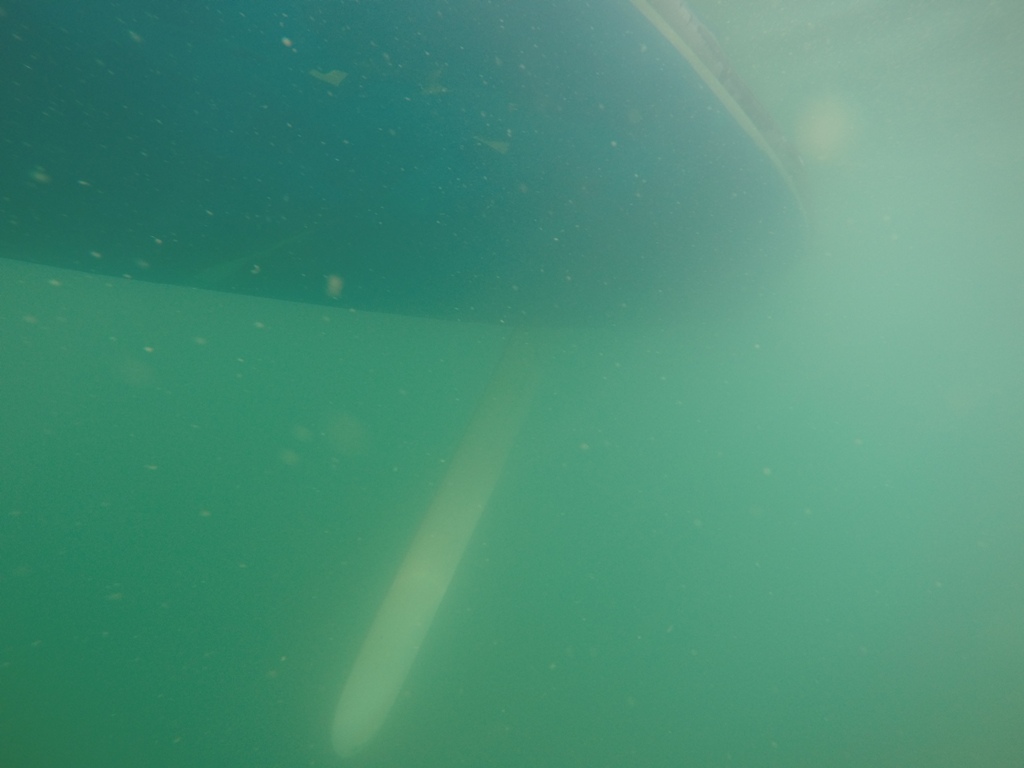
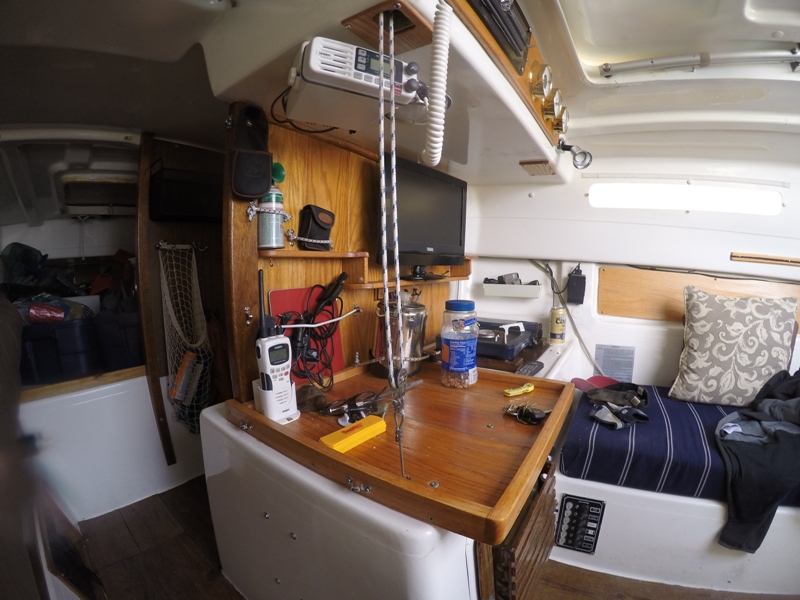
Set 2 below. This is with the pulled all the way in and the CB fully retracted for beaching or down wind.
Picture below is for the control position in the picture above
Set 3. This is with the 2:1 block set about 1/2 way
Picture below is for the control position in the picture above
Set 4. This with the CB control all the way out and the CB max down.
Picture below is for the control position in the picture above
Links
Bob Husseys original set up (where we all got the idea for this in the first place) and here (original picture set)