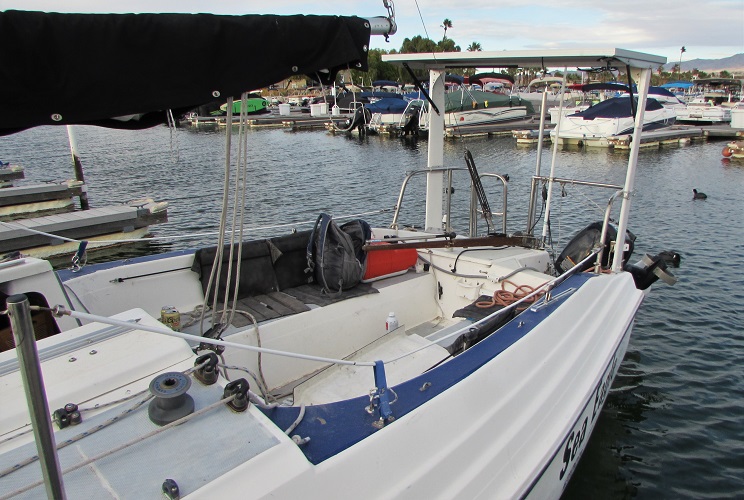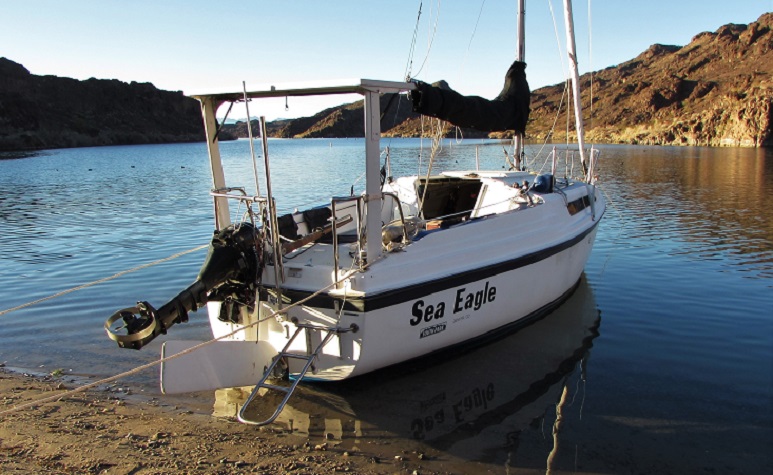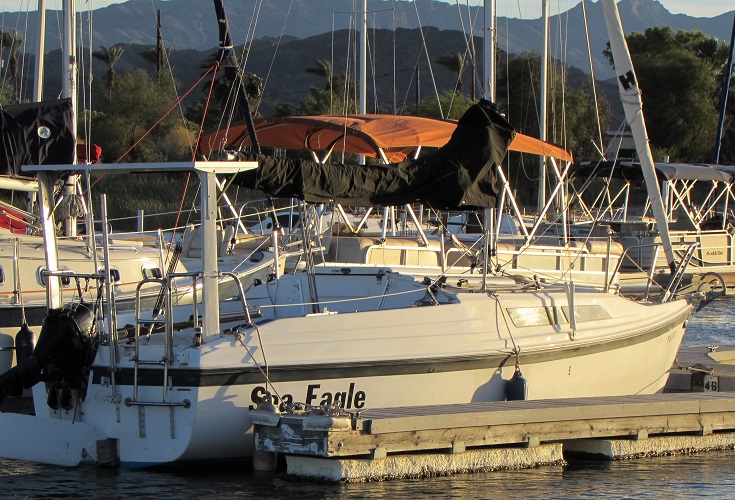
160 Watt solar panel on a Macgregor 26S
After more then ten years of owning this boat and focusing on trying to make it go faster, I decided to refresh my enthusiasm and experiment with the camping comfort aspect a little more and added an electric refrigerator. I wanted to power the refrigerator in a marina slip that does not have dedicated AC power per slip so added a 160 watt rigid frame solar panel.
Well.. this boat is a little small to add this large of a solar panel and I found its hard to make it look at least somewhat acceptable.. I also wanted to be able to get on and off the boat from the rear using some sort of dingy (we use an inflatable kayak) so the panel was placed all the way to the rear and up high up to allow a person to climb up the stern ladder and to the cockpit. I also had a goal of almost no partial shading as even a small amount significantly reduces power from the panel. Flexible solar panels are nice and light weight and a nice option is to mount these on top of a Bimini but you would need more panel power because of boom shading.
Convention for mounting solar in this area is to use either Aluminum or metal tubing for a rigid panel support. However, I chose to experiment with a different method of two oval glass covered wood core beams with a minimal AL angle cantilevered frame to support the panel. This may not be the best looking support but I think it is hard to beat for weight. Not counting the panel itself, all the hardware I added for the support is only 13 or 14 pounds. I believe this is less than half, maybe even 1/3 of what an all metal frame would weigh. The panel itself is around 26 pounds so the total for frame and panel is around or just under 40 pounds. Important as this is about the worst place for adding weight to a sailboat. The frame is plenty strong even on the highway when trailering.
FYI, I originally was looking at a 140 watt panel but found the same brand 160 watt panel to be the same exact size. So I went with 160 watts.
I don't have details on everything.. just enough to give someone some ideas. The panel is 160 watts with the top dimensions of 26.5 by 59 inches.

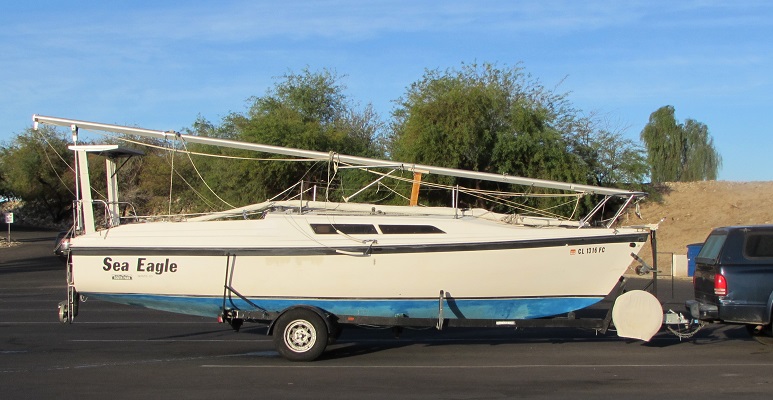
Picture below. Because this boat is trailered, the panel needed to be forward of the mast crutch but behind the backstay. At the 26.5 inch width, it just barely fits between the two with adequate margin. The top part of the mast crutch is extendable from the trailering position (shown) for when the mast is prepared to be raised. The top part of the mast crutch is also removable so it does not shade the panel when the boat is being sailed.
The Aluminum parts are numbered just to show how many different parts there are and to reference each part between the different pictures. There are two each of parts 1,2,4 and 5 and only one part of #3. The panel itself is mainly bolted to the two #1 AL pieces. The #1 parts were tapered at each end because they looked a little too bulky before they were tapered.
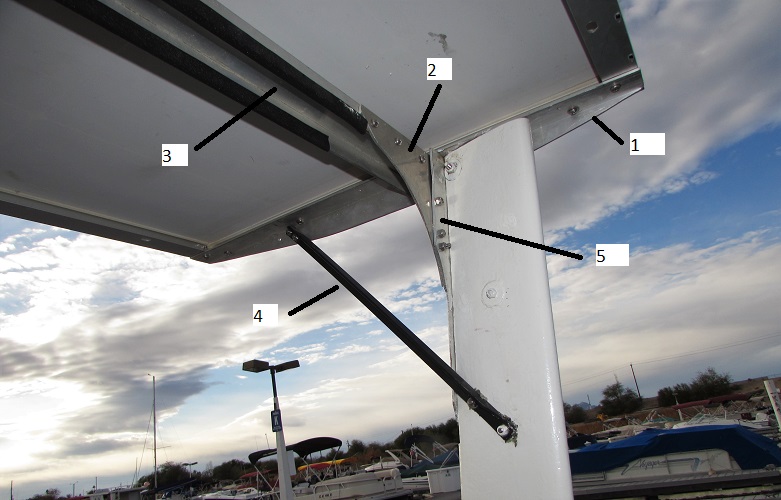
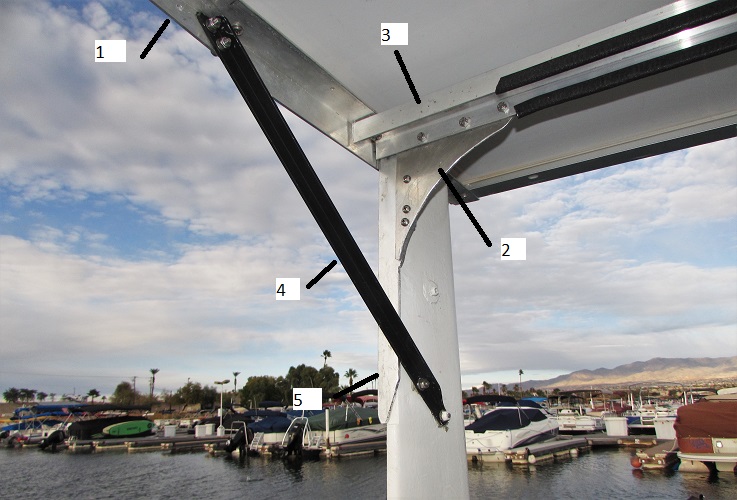
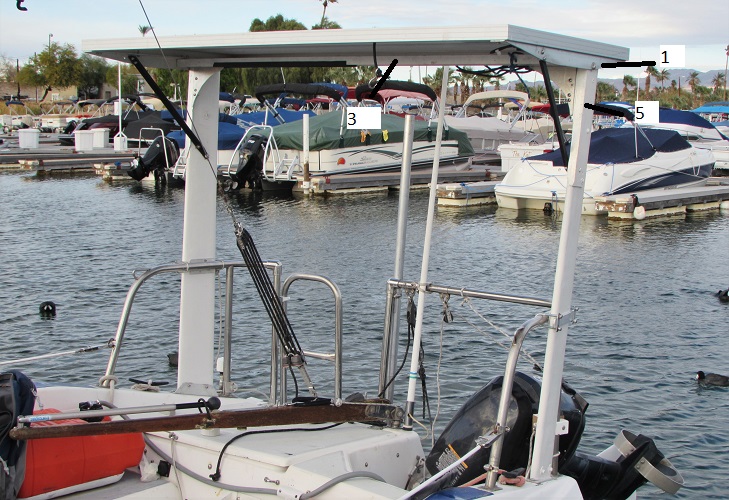
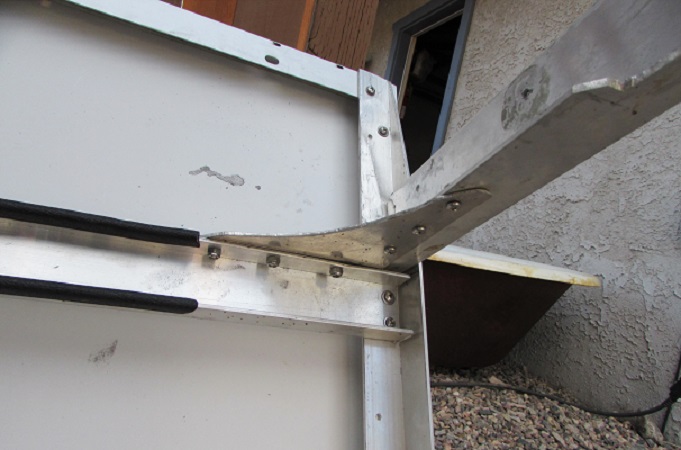
Below. No holes are drilled where the oval beams attach to the stern rail and its very robust
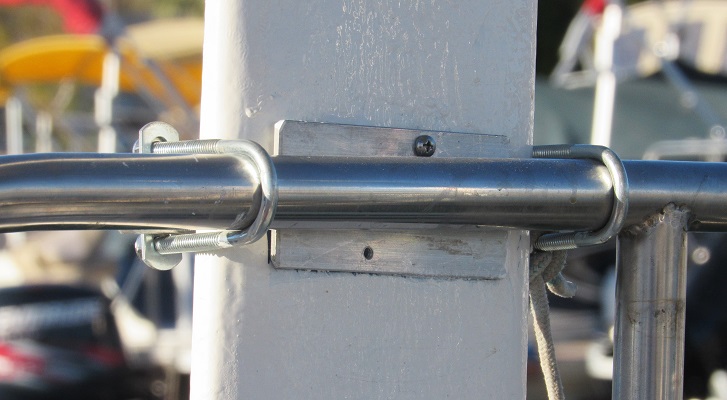
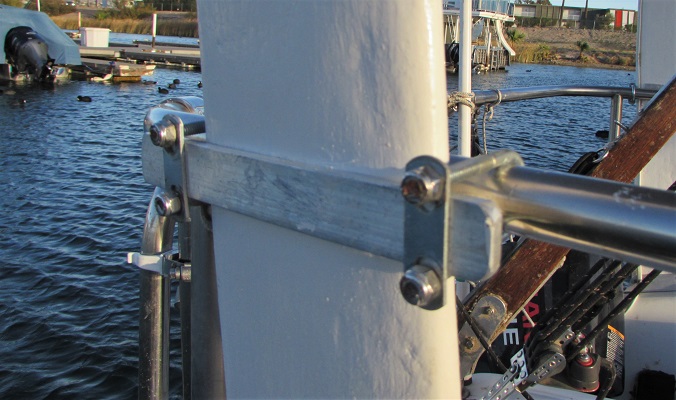
Picture below.. the AL angle plate at the bottom has two screws attaching it to the coaming. These are the only holes drilled in the boat for attaching the panel.
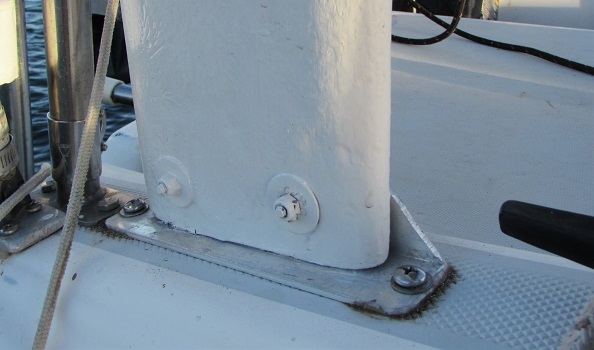
Picture below. The two glass covered wood core oval beams are approximately 45.5 inches long. The oval beams are 5.5 inches wide at the bottom and 4 inch wide at the top (i.e., tapered). In the picture below you can see the glass wrap on the wood core. I just used spruce for the wood. Epoxy is used on the fiberglass (more durable than Polyester resin for this application). The wood becomes very durable when wrapped in epoxy and glass.

